5 Steps for a Clean Camp Kitchen
Without the luxuries of home, camp cleanup can be a dreaded task, but I’ll help you break this down into manageable steps. Thanks to some of the newly - available camping tools, cooking outdoors has never been more fun or accessible. But as we all know, along with cooking comes cleanup.
My tips, gathered from nearly two decades of experience cooking in the great outdoors, help to simplify the job. What started as simple suppers on the beach have evolved over the years into three-day tenting trips for my family of five.
Nowadays, with the help of Coleman, clean-up is as much a part of the fun of getting outside as the rest of the camping adventures.
- A Place for Everything. Just like at home, an outdoor kitchen runs at top efficiency when it is organized and everything is in its place. Just writing that sentence has me nodding my head emphatically. Dry foods should remain in your car anytime you are not at camp, as they will attract curious animals and bugs. Store your perishables in a cooler and keep it safe in a vehicle as well. We use the Coleman Wheeled Xtreme Cooler, which keeps food cold for up to five days even on hot summer days. String up a clothesline for drying tea towels and bathing suits. Keep reusable dishes and camp cookware within reach. Set up a dishwashing station (see Step 3) for each post-meal clean-up.
- A Clean Table. Cover the picnic table with a plastic tablecloth and clip it on. A tablecloth makes it easier to wipe up spills and covers any unsanitary picnic tables. I like to arrange essential items like the Bendable Lighter within reach so I am not rummaging in the back of the car when I need them. Send the kids to pick wildflowers and arrange a jar in the table for a decorative touch.
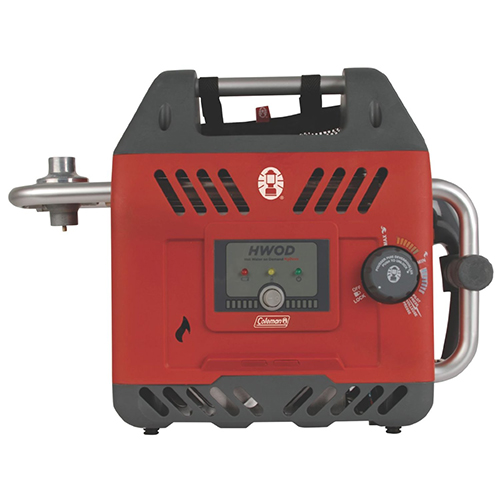
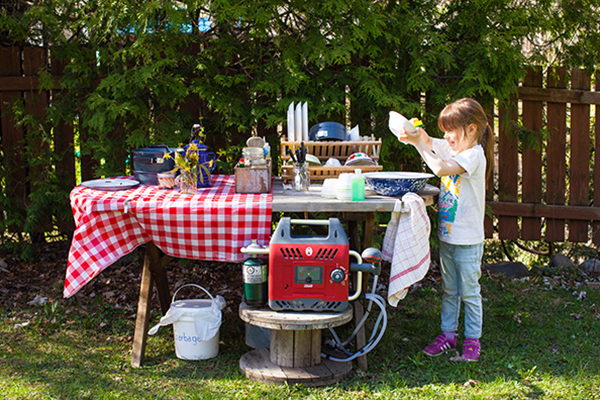
- A Dishwashing Set-Up. We avoid disposables and use reusable dishes for cookouts and campouts. It’s an environmentally conscious decision that we’ve made and it’s saved us a lot of money because we eat outside all summer long. For keeping those dishes clean, we don’t leave home without a small dish tub (plastic or enamel), biodegradable soap, a dish cloth, and a good scratch pad for pot and pans. We also bring our H2Oasis Hot Water On Demand Portable Water Heater, which makes clean-up much easier. How to wash dishes when camping:
- Scrape the food scraps into a small covered garbage (see step 4).
- Wash dishes in plenty of hot water with biodegradable soap.
- Rinse with the hose from the H2Oasis Hot Water On Demand Portable Water Heater.
- Drip dry in a mesh bag or a collapsible dish rack.
- Store clean dishes in a cloth bag or plastic storage bin with a lid.
- A Covered Trash Pail. For all garbage that you can’t burn, such as Styrofoam and tin foil, keep a clearly-marked bucket with a tight fitting lid. Line it with a plastic bag and empty it at the end of every day. Not only will the lidded bucket keep out critters and ants, it will keep funky smells contained and make for a fresher, cleaner campsite.
- A Team of Helpers. Enlist help at clean-up time, getting the whole family involved. Older ones can fetch water while a younger one can wipe down the table. My 5-year-old loves rinsing dishes with the spray hose from the H2Oasis. If you start them young, they will learn that clean-up is just another part of the camping fun – and you’ll never get stuck with the dishes again!
GET THE GEAR